This is a laid-back guide intended to help people optimizing their Etoile usage! Rather than flail around with Etoile weaponry, utilize combos to better your output!

Part 1: Basic Etoile
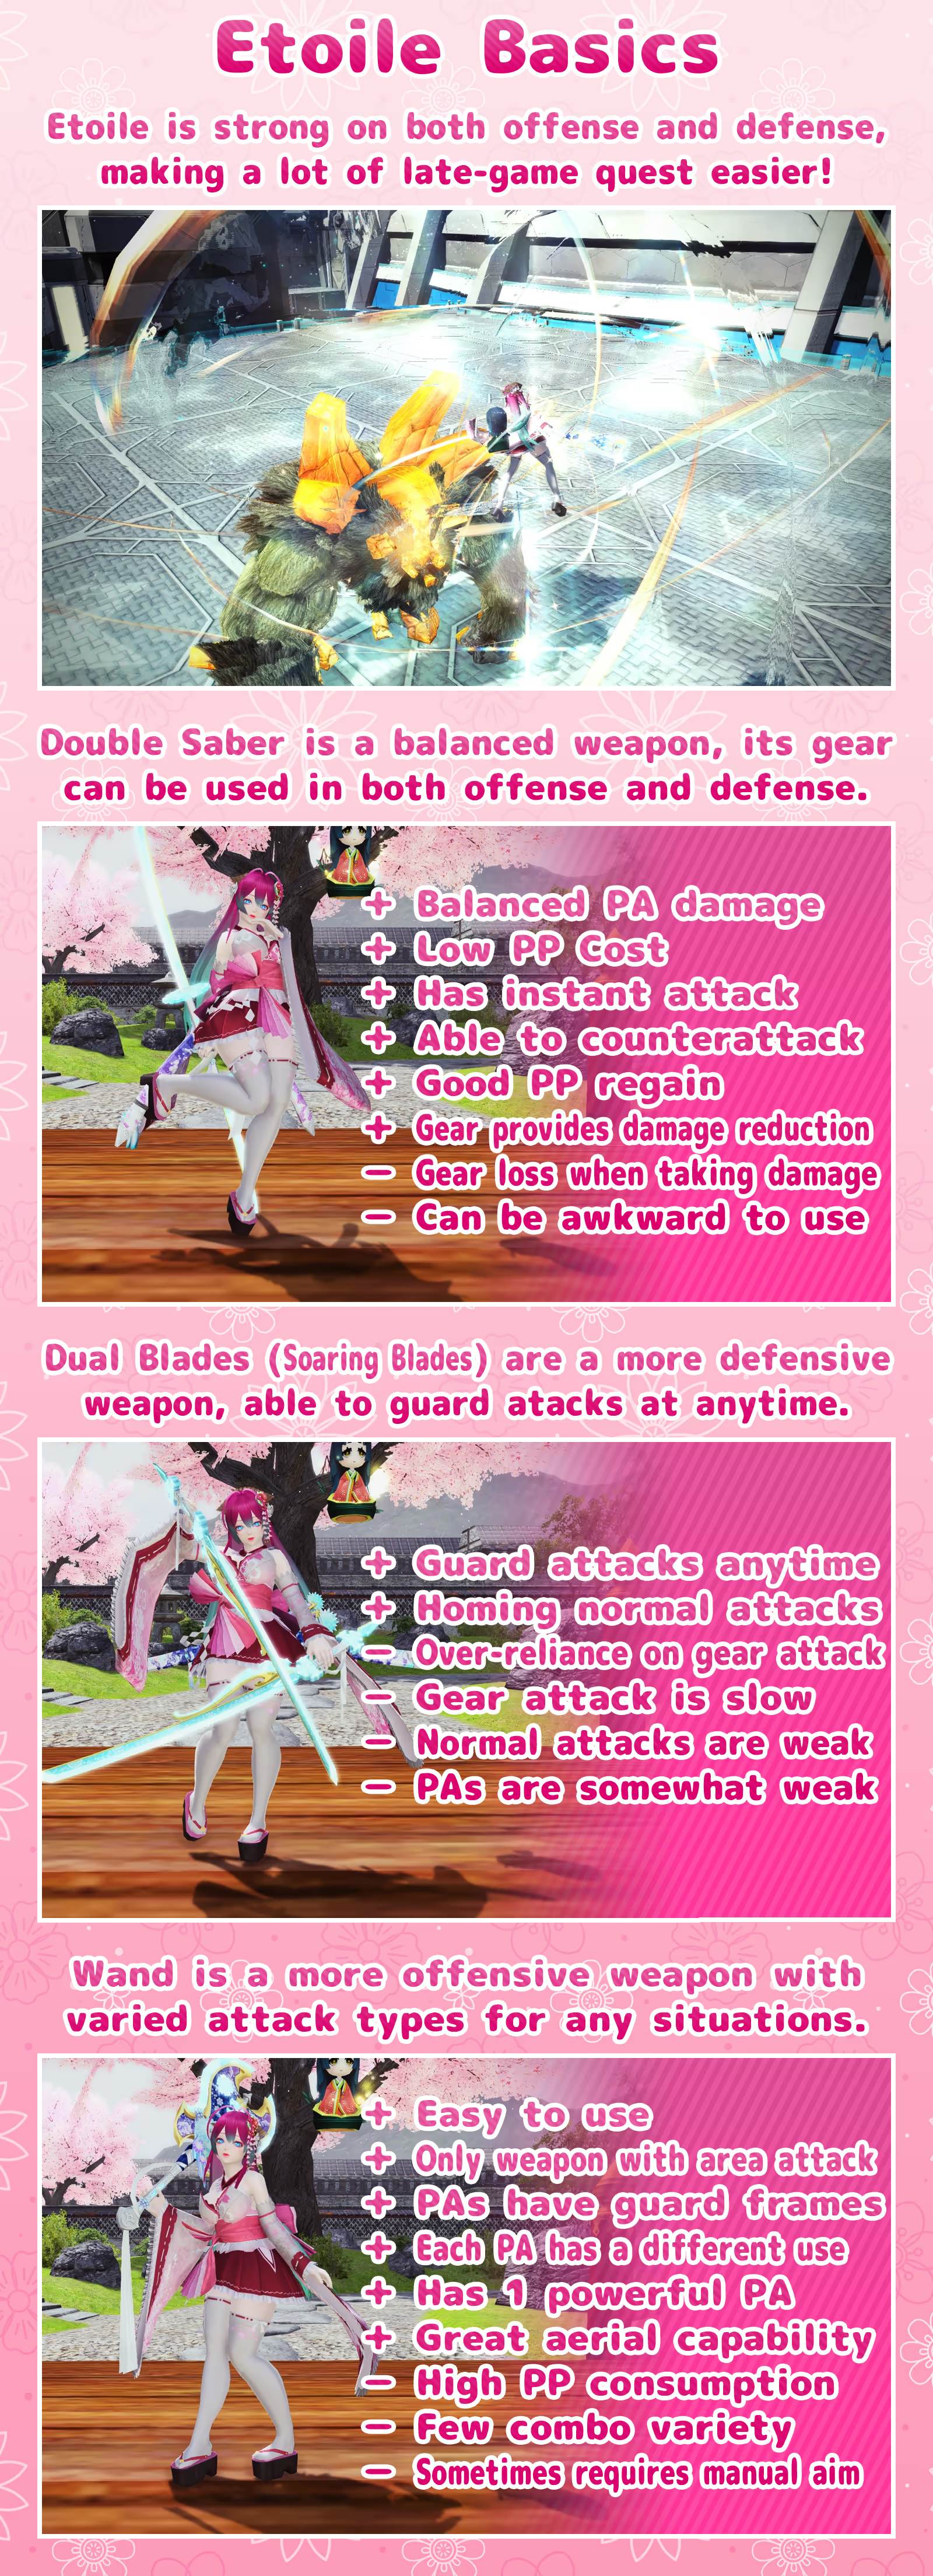
Etoile is a successor class that uses Double Saber, Dual Blade (Soaring Blade), and Wand. They have a lot of damage resistance (70%!) and can do a lot of damage as well. Due to the resistance, Etoile is one of the easiest class to use for "high difficulty" quests and end-game contents.
- You know how PSO2 works in general, as you need 2 level 75 classes to unlock Etoile
- You have done the Etoile Tutorial
- You know who Lucotte (ルコット) is
- You can amass Excubes
- You can amass Photon Spheres
Basic Equipments
You should use whatever weapons and units available to you. Assuming you have at least 120 ATK on your mag and no L75 class boosts, here are some recommendations:
| Level | Weapon | Units | Description |
|---|---|---|---|
| 30 | Nox Cadina-NT ノクスカディナ-NT Nox Dinas-NT ノクスディナス-NT Nox Qucross-NT ノクスキュクロス-NT | Rear/Ronia Pointa サブ/ロニアポインタ Arm/Ronia Shell アーム/ロニアシェル Leg/Ronia Port レッグ/ロニアポート | A grinded Nox should be available from Player Shop. Ronia sets are available from Photon Sphere Shop. |
| 55 | Sub/Stellar Wall サブ/ステラウォール | You should already have Stellar Wall from title reward when reaching L75 with any of your other classes. | |
| 70 | Dim Double Saber ディムDセイバー Dim Dual Blade ディムDブレード Dim Wand ディムウォンド | Dims are availabe from Player Shop. If you have 200 ATK mag, you can wield Dims on level 60. If you have 200 ATK mag, and maxed class boosts, you can wield Dims on level 50. | |
Etoile Mag
Thanks to Etoile Mag skill, any points added to a mag's S-ATK, R-ATK, and T-ATK will be distributed to all attacks at 1:1 rate. So if you have 200 T-ATK mag, you'll also gain 200 S-ATK and 200 R-ATK.
Preferably your mag has this following setup:
| Parameter | Value | Description |
|---|---|---|
| T-ATK | 200 | Focusing on pure T-ATK will give you access to the exclusive, PP Restore J. |
| Photon Blast | Cetus Proi | You'll automatically get Cetus Proi upon focusing on T-ATK. You can buy PB Device Cetus P (PBデバイス/ケートスP) from the Excube shop. |
| Auto Action | Megid | Megid is a powerful auto action and can poison enemy. Along with Wand and Mag Excite Ring, your mag can contribute damage comparable to S4 Raising Pursuit. You can buy T-ATK Device Megid (法撃デバイス/メギド) from the Excube Shop |
| Auto SP Action | Barricade (鉄壁 Unbreakable) | I personally prefer this since in higher difficulty bosses can do a lot of damage in a single bow; this can be a lifesaver when you least expect it. You can buy SP DEX Device Barricade (SP技量デバイス/鉄壁 SP DEX Device Iron Wall) from the Excube Shop. If you have PP trouble, pick Rapid Fire. Dance is hardly useful because it's hard to time it properly with your burst attacks. |
| Trigger Action | PP Restore J Mate Production Atomizer Production | Put multiple Mate and Atomizer Production. If you have 8 slots by using the Mag Support Expansion Kit (マグ支援枠拡張デバイス Mag Support Extend Device), you can have PP Restore J, 2 Mate Productions and 5 Atomizer Productions. You can get the production devices as E-Trial drops, or buy in Player Shop: Production Device/Mates (生産デバイス/HP回復系) and Production Device/Mizers (生産デバイス/範囲系). I personally went for all Atomizers since I rarely ran out of Monomates. |
Skill Tree
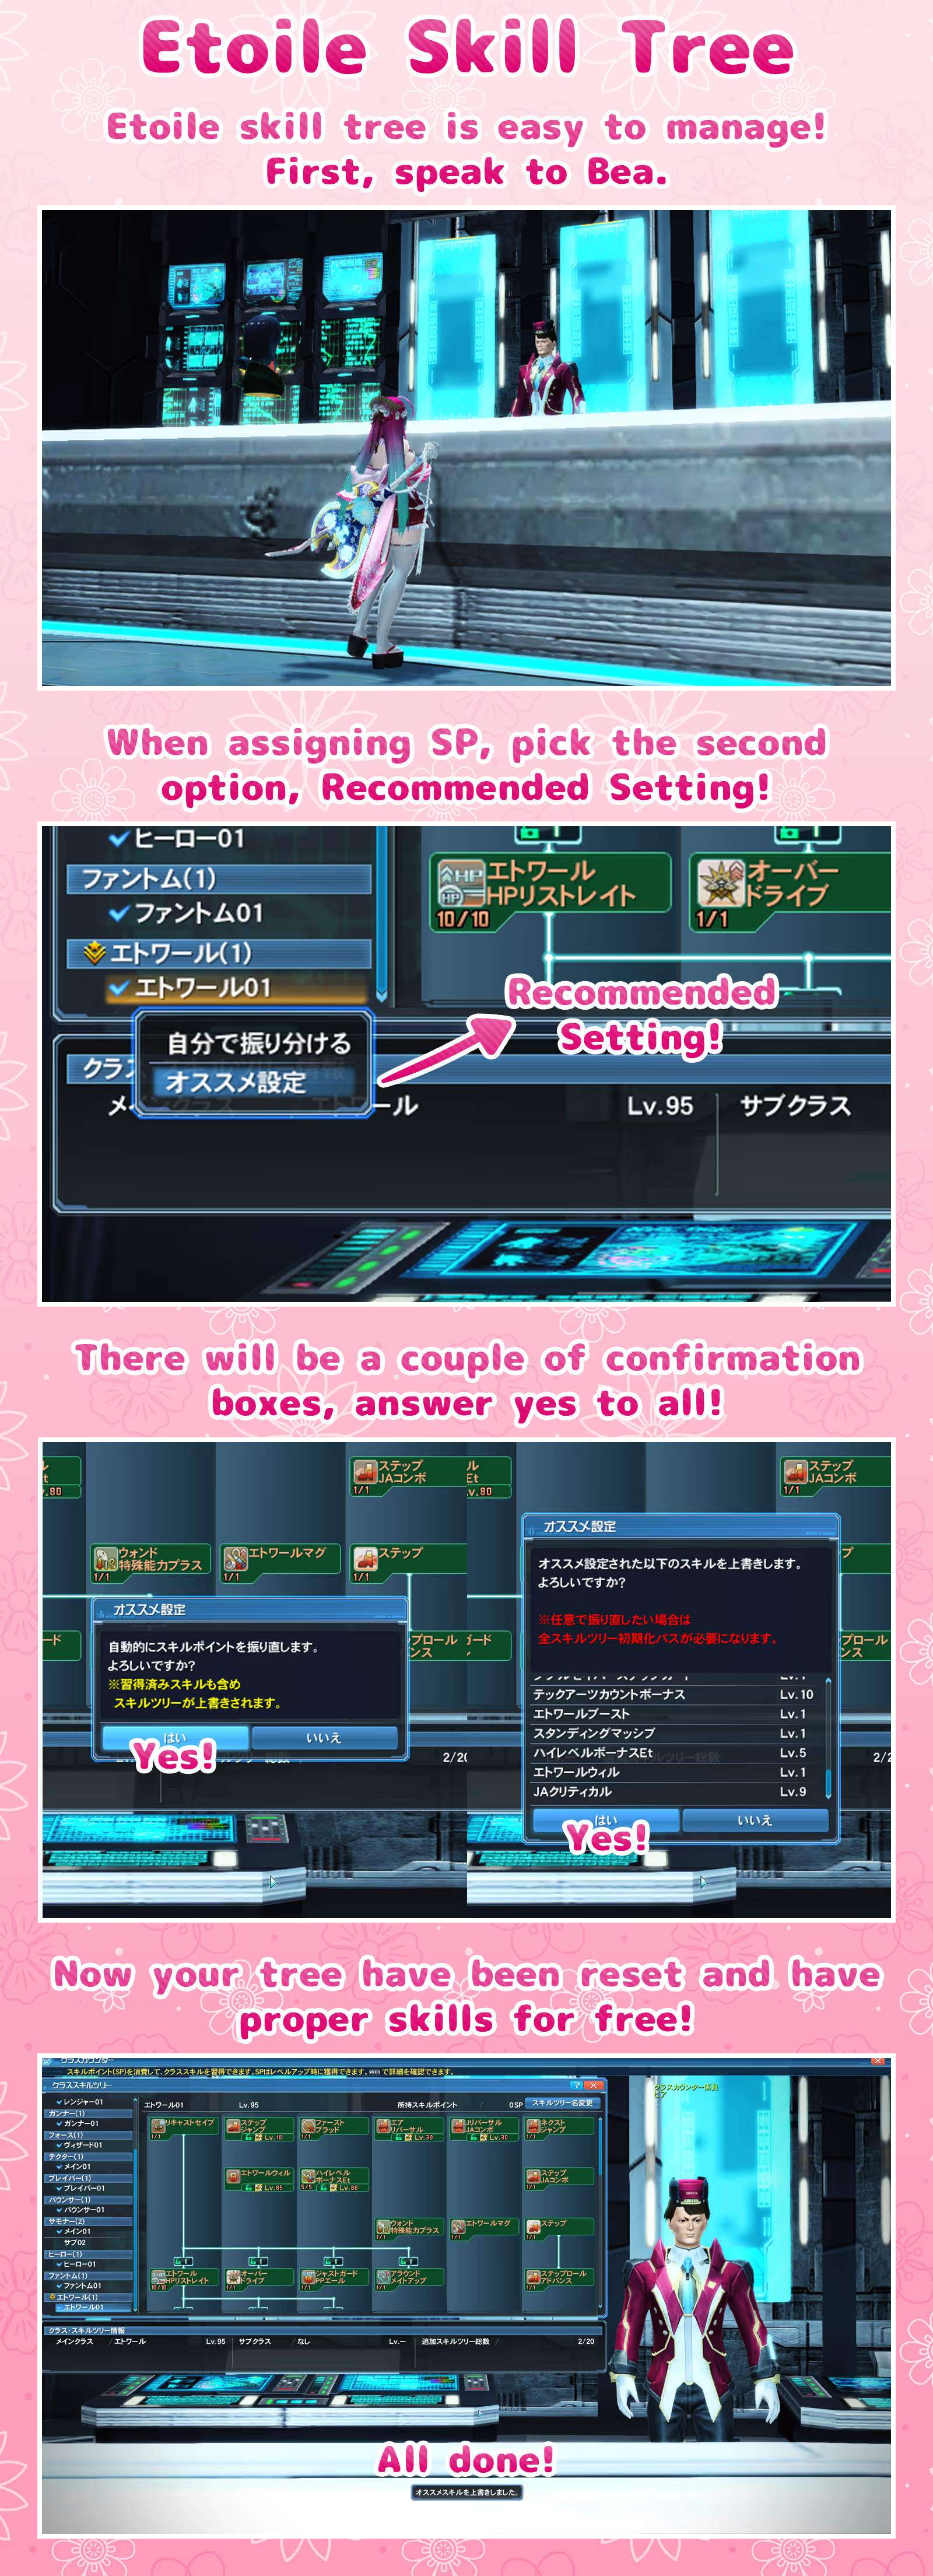
Etoile's skill tree doesn't require too much details. For general purpose Main and Sub, the Recommended Setting available on the Class counter is already optimal, focusing on maxing Damage Balancer and Tech Arts Count Bonus, while getting just 3 points for Same Arts PP Save.
For a Skill Simulator version, click here🔗
About Etoile Boost
Etoile boost provides increased damage resistance each time you get hit. First hit is 15%, second hit is 30%, and and so on until 5th hit at 75%. However, the damage resistance decays at 25% per second. For example, if you get hit 5 times in less than 1 second, you'll hit the 75% damage reduction, but on the next second, it will be reduced to 50%, then 25%, then back to 0%. While the mechanics can be considered quirky, learning this skill provides you with at least 15% damage reduction.
The decay rate can be reduced by 50% (becoming 12.5% per second) with S6:Long Night Star (S6:長夜の明星); but considering PSO2 UH bosses so far, the only thing this protects you from are Ultra Miser missiles.
About Tech Arts Count Bonus
At L10, the Tech Arts Count Bonus (TACB) give you 15% damage increase and 10% PP reduction for the next 3 different JA'd PA after a JA'd PA. TACB count will not be zeroed by normal attacks
For example:
| Combo Example | PA 1 | PA 2 | PA 3 | PA 4 | PA 5 |
|---|---|---|---|---|---|
| P-Circular - 4x L-Flare | P-Circular ~ (TACB Left:0) | TACB L-Flare ~ (TACB Left:2) | TACB L-Flare ~ (TACB Left:1) | TACB L-Flare ~ (TACB Left:0) | L-Flare ~ (TACB Left:0) |
| P-Circular - 3x L-Flare - P-Circular | P-Circular ~ (TACB Left:0) | TACB L-Flare ~ (TACB Left:2) | TACB L-Flare ~ (TACB Left:1) | TACB L-Flare ~ (TACB Left:0) | TACB P-Circular ~ (TACB Left:2) |
| P-Circular - L-Flare - Normal 3 - L-Flare - L-Flare | P-Circular ~ (TACB Left:0) | TACB L-Flare ~ (TACB Left:2) | Normal 3 ~ (TACB Left:2) | TACB L-Flare ~ (TACB Left:1) | TACB L-Flare ~ (TACB Left:0) |
About Same Arts PP Save
Same Arts PP Save (SAPPS) reduces the PA cost of same PA in succession. At L3, for each same PA used, it will give 8%, 16%, 24%, and maxed at 25%. This can work in-tandem with TACB's 3 PA limit, stacking the PP cost reduction. Since there can only be 2 PAs affected by SAPPS+TACB, having L3 (8% and 16%), is more less same with L2 (9% and 15%), but L3 is more lenient when you miscount your PA. SAPPS doesn't get reset by normal attacks and works regardless of JA.
For example:
| Combo Example | PA 1 | PA 2 | PA 3 | PA 4 | PA 5 |
|---|---|---|---|---|---|
| P-Circular - 4x L-Flare | P-Circular ~ (TACB Left:0) | TACB L-Flare ~ (TACB Left:2) | TACB L-Flare ~ (TACB Left:1) ~ (SAPPS -8%) | TACB L-Flare ~ (TACB Left:0) ~ (SAPPS -16%) | L-Flare ~ (TACB Left:0) ~ (SAPPS -25%) |
| P-Circular - 3x L-Flare - P-Circular | P-Circular ~ (TACB Left:0) | TACB L-Flare ~ (TACB Left:2) | TACB L-Flare ~ (TACB Left:1) ~ (SAPPS -8%) | TACB L-Flare ~ (TACB Left:0) ~ (SAPPS -16%) | TACB P-Circular ~ (TACB Left:2) |
| P-Circular - L-Flare - Normal 3 - L-Flare - L-Flare | P-Circular ~ (TACB Left:0) | TACB L-Flare ~ (TACB Left:2) | Normal 3 ~ (TACB Left:2) | TACB L-Flare ~ (TACB Left:1) ~ (SAPPS -8%) | TACB L-Flare ~ (TACB Left:0) ~ (SAPPS -16%) |
Part 2: Intermediate Etoile
- You can assign helpful rings on your units: Atomizer Lovers, Mate Lovers, Easy Full Connect
- You know the quirks of each Etoile Weapon
- You can perform the optimum rotation combo of Double Saber
- You can perform the optimum rotation combo of Dual Blade
- You can perform the optimum rotation combo of Wand
Rings
| Icon | Name | Grind | Description |
|---|---|---|---|
 |
R/CストライクR/C Strike | Yes | Useful to increase Etoile's base 50% critical rate. |
 |
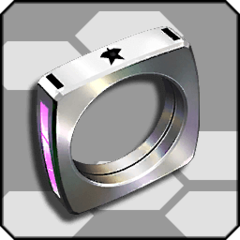
L/アトマイザーラバーズL/Atomizer Lover | Yes | Speeds up atomizer use by 100% (double speed!) and turns you invulnerable when doing so.Increases atomizer healing by 60%, making Star Atomizer restores 80% HP.With S7 Increased Efficiency, Star Atomizer healing becomes 104%, restoring full HP and making you invulnerable when doing so. |
 |
L/メイトラバーズL/Mate Lovers | Yes | Speeds up mate use by 60% and healing by 20%Less useful than Atomizer Lover since this doesn't grant invulnerability.With S7 Increased Efficiency, even Monomate can heal about 46%HP! |
 |
L/イージーフルコネクトL/Easy Full Connect | No | Allows charging Connect and turn it to Full Connect with just 1 gear bar!Useful to increase DPS on Dual Blades, details below! |
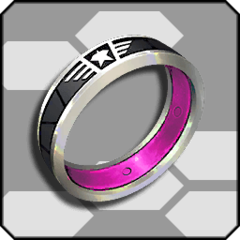 |
L/マグエキサイトL/Mag Excite | Yes | Increases Mag auto action frequency and power.Can contribute significant damage when wand is active. |
Double Saber
To know the basics of Double Saber, please do the Etoile Training Quest on Double Saber. Double Saber (DS) is a balanced weapon in both offense and defense. You're expected to counter each incoming attacks with its Weapon Action, Deflect which does a lot of damage. Getting hit a lot means you cannot spend gear to use Enhanced Normal or Enhanced Quick Take to inflict damage and restore PP.
Pros
- Balanced damage among all PA, making it easier to pickup
- Has the only instant-point attack, the Shooting Star
- Able to counterattack anytime using Weapon Action, even in middle of PA
- Low PP Cost
- Good PP regain
- While having at least 1 gear, all damage taken will be reduced
Cons
- While having at least 1 gear, each hit taken will automatically reduces gear by 1
- DS Skip Arts can be awkward to use, while the strongest combo requires it
- Enhanced Quick Takes can be awkward to use, since you need to hold the normal attack button until the hit connects
Double Saber Photon Arts
| Icon | Name | Property |
|---|---|---|
 |
ディフレクトDeflect | Can be used anytime, extremely powerful against attacks that lingers and hit a lot, such as Mithra's light pillar. |
 |
クイックテイクQuick Take & Enhanced Quick Take | You need to hold the normal attack button until the Quick Take hits for the Enhanced version; this is important if you are far from enemy! |
 |
シューティングスターShooting Star | Etoile's only instant-point attack, useful against enemy like Dissolsaber.Best to do the skip version as it straightly go to the instant-point attackThis the weakest DS PA: even the skip version is weaker than both Skip S-Destruction and first half A-Quasar.You can still do a lot of damage with this since it's highly accurate. |
 |
アブソリュートクエーサーAbsolute Quasar | Approach PA, will track enemy's height if locked-on.First half is strong, second half is weak.First half is one of the strongest PA on DS's disposal, only weaker than Skip S-Destruction. |
 |
セイバーデストラクションSaber Destruction | First half is weak, second half is strong.Skip version is the strongest PA on DS's disposal. |
 |
セレスティアルコライドCelestial Collide | Skip version could be stronger than Skip S-Destruction, but its quirk limits it uses.Good for getting high damage first strike when a weakpoint is about to show. |
Double Saber Combo
| Combo 1 | ||||||||
|---|---|---|---|---|---|---|---|---|
 |
 |
|
|
 |
||||
| First Half A-Quasar | Skip S-Destruction | Skip S-Destruction | Skip S-Destruction | Enhanced Quick Take | ||||
| Most powerful sustainable DS combo. Removing Quick Take will increase the DPS by 1-2%, but it becomes unsustainable. | ||||||||
| Combo 2 | ||||||||
|---|---|---|---|---|---|---|---|---|
|
|
|
 |
|
||||
| Skip S-Destruction | Skip S-Destruction | Skip S-Destruction | Skip Collide | Enhanced Quick Take | ||||
| Combo utilizing the Celestial collide. Only marginally weaker than Combo 1. | ||||||||
| Combo 3 | ||||||
|---|---|---|---|---|---|---|
|
|
|
|
|||
| First Half A-Quasar | Skip S-Destruction | Skip Collide | Enhanced Quick Take | |||
| Another combo utilizing the Celestial collide, do about as much as Combo 2. | ||||||
| Combo 4 | ||||||||
|---|---|---|---|---|---|---|---|---|
|
|
|
|
|
||||
| First Half S-Destruction | First Half S-Destruction | First Half S-Destruction | Skip A-Quasar | Enhanced Quick Take | ||||
| A good combo for mobbing, if you're reluctant to swap to Wand. | ||||||||
Dual Blade / Soaring Blade
To know the basics of Dual Blade, please do the Etoile Training Quest on Dual Blade. Dual Blade (DB) or Soaring Blade are a more defensive weapon, as it allows you to use its Weapon Action, Parry anytime to guard an attack and gain some invulnerability. Blocking an attack does minimum damage to enemy and restores PP. You are expected to build gear as fast as possible and dish out it's gear attack, Full Connect, as many as possible to do damage. Without using Full Connect often, Dual Blade becomes a weak weapon.
Pros
- Able to guard attacks almost anytime using Weapon Action
- Guarding attacks restores PP
- Normal attacks homes in on enemy
Cons
- Requires using Connect and Full Connect to perform on par with DS and Wand
- Full Connect is slow
- Full Connect is subject to damage cap
- Normal attacks are weak
- PAs are somewhat weak
- Requires the Easy Full Connect Ring to increase damage
- Parry cannot be used when performing Connect or Full Connect
Dual Blade Photon Arts
| Icon | Name | Property |
|---|---|---|
 |
パリィParry | Can be used almost anytime to nullify attack and regain PP, even when you're frozen!Somehow cannot be used during Connect or Full Connect |
|
コネクト・フルコネクトConnect & Full Connect | Full Connect is DB's highest damage attack.You need to do this as often as possible to keep your damage similar to DS or Wand.If you have Easy Connect ring, you can charge your Connect into Full Connect!This has range penalty, don't be too far from your target. |
 |
ラディアントスティングRadiant Sting | Approach PA, covers a lot of ground. |
 |
バーティカルフロウParticle Flow | Weakest DB PA.Can be used to raise your altitude if you cancel to another PA after the rising part.Can also be used to lower your altitude if you let the PA finish. |
 |
ディストーションピアスDistortion Pierce | Strongest DB PA.With the slow animation, you're expected to protect yourself with Parry. |
 |
ライトウェーブLight Wave | A long-range PA.Does about the same damage as Radiant Sting, but is riskier due to being the only DB PA without super armor.You can stand still when using this to activate Standing Massive and gain super armor. |
Dual Blade Combo
| Combo 1 | ||
|---|---|---|
 |
|
|
| Step Edge | Full Connect | |
| Requires the Easy Full Connect Ring.Charge until the big swords appear.The overall damage will be lower than using Connect into Full Connect, but the DPS is higher.Remember that Full Connect has a range penalty, so don't be too far from your enemy! | ||
| Combo 2 | ||||
|---|---|---|---|---|
 |
 |
 |
||
| P-Flow | R-Sting | Normal 3 | ||
| A combo opener to gain height, should your target is higher than you. You can replace the R-Sting with any PA! | ||||
| Combo 3 | ||||||||||
|---|---|---|---|---|---|---|---|---|---|---|
|
 |
|
|
|
|
|||||
| R-Sting | D-Pierce | D-Pierce | D-Pierce | Normal 2 | Normal 3 | |||||
| A sustainable basic combo utilizing the most of DB's PA.You can replace the Normal 2 with another R-Sting to increase DPS! | ||||||||||
| Combo 4 | ||||||||
|---|---|---|---|---|---|---|---|---|
|
|
|
|
|
||||
| R-Sting | 3x D-Pierce | R-Sting | 3x D-Pierce | Normal 3 | ||||
| This is the combo to use if you are goot at Parrying, have additional PP reduction, and persistent PP regeneration like Flowing Grace or Colossal Radiance. | ||||||||
Wand
To know the basics of Wand, please do the Etoile Training Quest on Wand. Wand is a more offensive weapon with high mobility, as it allows you to move anytime, even during normal attacks and PAs. Its Weapon Action, Protect can guard against attacks and enables natural PP regeneration when doing so, unlike DS or DB. Wand also depends on its gear attack, Protect Release, to do damage, but not as much as DB. Gear generation is fast as long as you keep moving around during attacks. If you're unwilling to move around with wand, consider using another weapon.
Pros
- Able to move around even when using normal attacks and PAs making it easy to avoid damage when attacking
- Each PA has a different use: a suction, an approach, an altitude riser, and a power attack
- Has the only wide area attack
- All PAs have guard frames, and activating Focus PA provides additional guard frames
- Great aerial capability
- Moving around with unsheathed weapon and enemies nearby increases gear
- Using or holding Protect allows PP regeneration, unlike the other two weapons
Cons
- High PP consumption
- Few combo variety
- Protect cannot be performed anytime
- Sometimes requires manual aim: Luminous Flare is more effective with manual aim to prevent aiming loss when target dies, Prism Circular can be used to gain height when using manual aim.
Wand Photon Arts
| Icon | Name | Property |
|---|---|---|
 |
プロテクトProtect | Blocks any attack and fills the wand gear.Can be used to cancel PA during the white focus circlePay attention on the small barrier around your character, this indicates protect is active: if you hold the button to charge Protect Release, you'll note that this small barrier will dissipate when your gear is depleted! |
|
プロテクトリリースProtect Release | Wand Gear has 6 bars, Protect Release 1 needs 2 bars and Protect Release 2 needs 4 bars.Your natural PP regeneration will be active for the duration of release. |
|
フォーカスFocus | Press weapon action during white focus circle to perform focus PA!Focus PAs are stronger, but has narrower range.Focus PAs fill gauge faster than regular PAs. |
 |
プリズムサーキュラーPrism Circular | Approach PA, will track enemy's height if locked-on.Can be used with manual aim to change your height.Regular version causes stun.Focus version is a combo starter. |
 |
ルミナスフレアLuminous Flare | Best mobbing tool available to Etoile!Regular version may require manual aim due to the control.The hitbox is wider than it looks, roughly as big as the swirl surrounding the beam.Focus version is Wand's strongest PA. |
 |
ブラックホールラプチャーBlack Hole Rupture | Gathers enemy in a small area together.Most likely requires manual aim to be effectively gather enemy.Weakest wand PA, use it only for its unique property. |
 |
グリッターストライプGlitter Stripe | Can be used to raise your altitude without using manual aim like Prism Circular.Focus version is very powerful, but hardly hit the target more than twice, unless the target is gigantic. |
Wand Combo
| Combo 1 | ||||
|---|---|---|---|---|
 |
|
 |
||
| Focus G-Stripe | Focus G-Stripe | Protect Release 2 | ||
| A useful combo to retain your height while charging release. Useful against enemies in which you have a great advantage fighting airborne, such as Meduna. | ||||
| Combo 2 | ||||||||||
|---|---|---|---|---|---|---|---|---|---|---|
 |
 |
 |
|
|
|
|||||
| Focus P-Circular | Focus L-Flare | Normal 3 | Focus L-Flare | Focus L-Flare | Normal 3 | |||||
| A basic wand combo utilizing as much L-Flare as possible. You will eventually run out of PP, so improvise with Focus L-Flare - Normal 2 - Normal 3 Use Protect Release 2 as soon as it's available to regain PP! | ||||||||||
| Combo 3 | ||||||||
|---|---|---|---|---|---|---|---|---|
|
|
|
|
|
||||
| Focus P-Circular | 3x Focus L-Flare | Focus P-Circular | 3x Focus L-Flare | Normal 3 | ||||
| This is the combo to use if you have additional PP reduction and persistent PP regeneration like Flowing Grace or Colossal Radiance; having Calming Shockwave also helps. | ||||||||
Part 3: Advanced Etoile
- You can create a low cost but potent S-ATK units
- You can create a potent PP units
- You know PP efficiency alternative to pure damage
- You assign the following S-Class Ability to your unit: S7:Increased Efficiency
Units
For damage purpose, Etoile uses S-ATK. If you want PP, you'll use the Liberate set or Orb-Liberate-Nova. If you want an all-rounder, you'll have to look for DQ or Atlas unit. For further information on units, please take a look on the companion guide, linked below!
Weapons
As with units, use whatever's available. The weapons listed below are more less, commonly used and/or easy to obtain. If you struggle to obtain a ★15, Atra Ex and Austere can be made easily.

| Icon | Name | S-Slot | Description |
|---|---|---|---|
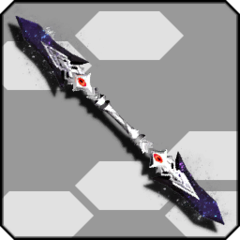 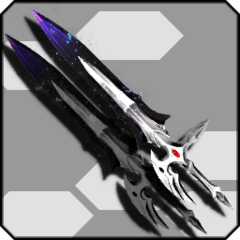 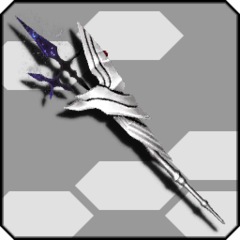 |
Cras | Similar to Ayer with 30s damage boost mode and higher stat.Requires a Graeae, currently very limited in circulationActivating damage boost mode requires doing 3 normal attacks in a row, step attack doesn’t count.Activating damage boost mode removes the PP cut and persistent PP regenration. | |
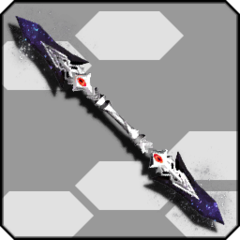 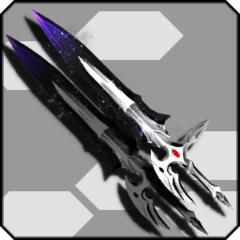  |
Ayer | Provides persistent PP regeneration and PP cut.By putting Petalgleam / Red Petal Flash and S4 Rainbow Balance, this weapon lowers your PP cost a lot.As strong as fully-boosted Stil.Easy to purchase from Zieg.Unless you get it as drop, you will need Grind Caps to increase the cap; fortunatel Grind Caps becomes an easy drop later on. | |
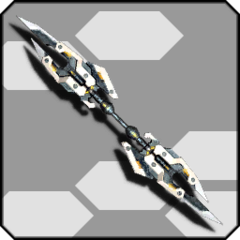 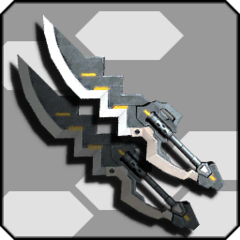 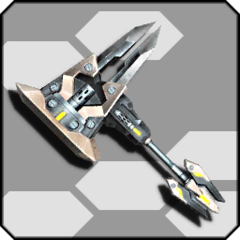 |
Stil | Very powerful with persistent PP regeneration, as long as you can avoid getting hit.S5 is useful for both DB and Wand.Requires a lot of material to the point of insanity.Requires Liberate to get the desired DB and Wand S5.Getting hit a lot will lower the overall damage you do. | |
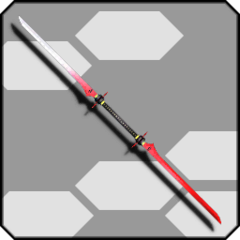 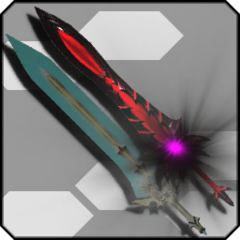 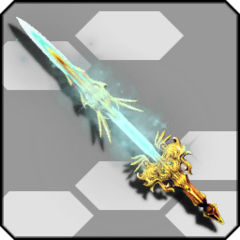 |
(Soldam) | This is the weapon drop from Ultimate Quest Soldam and only useful if you don't have anything else and is prone to mistakes.All weapons have different names, but has same potential that allows you to use mate items instantly.You'll never need to use mate items instantly when you're using Etoile right as you take less damage and have ways to mitigate those damage completely. | |
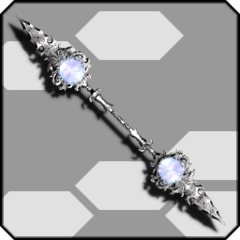 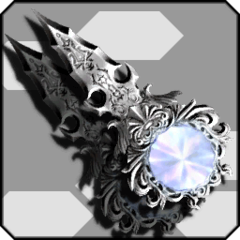 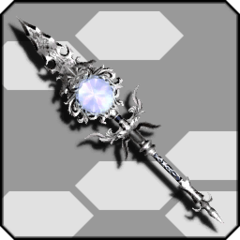 |
Fimbul | A great Et-exclusive weapon that is easy to obtain.Permanently available via Collection File.Collection File provides Grind Caps.Overall weaker than Ayer. | |
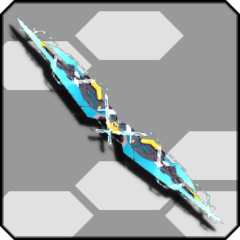 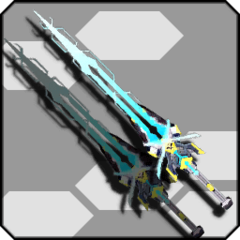 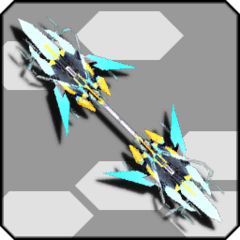 |
Rivalate / Liberate | Huge PP cut with increased critical rate.S4 can be used to put persistent PP regeneration like Colossal Radiance.S5 is useful for both DB and Wand.Requires Liberate Unlocker, which at first, is a feat to obtain. | |
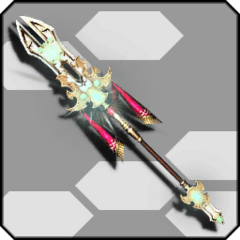 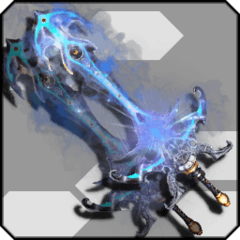 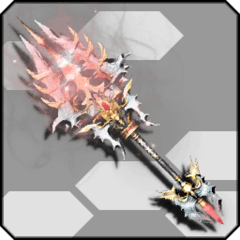 |
Atlas Ex | Prevents death once, if you're prone to making mistake.Can obtain at least 2 copies easily.Very straightforward potential.S4 can be used to put persistent PP regeneration like Colossal Radiance.None. | |
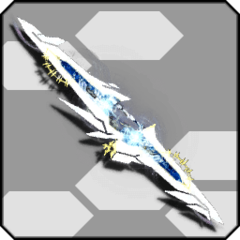 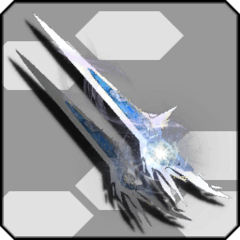 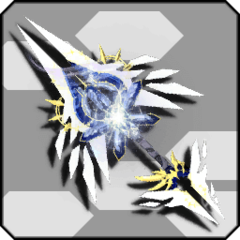 |
Xion | Solid stat with PP-refilling effect, can never go wrong with it.Requires Amphitrite Stone, which is also a feat to obtain.More less just a PP-battery, useful if you have a huge amount of PP. | |
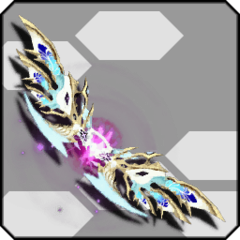 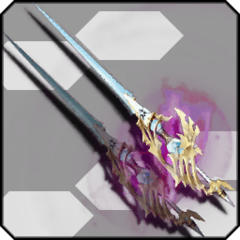 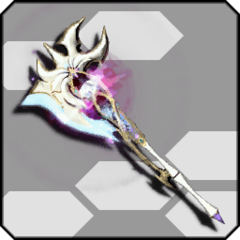 |
Ophistia / Austere | Surprisingly strong by using it's Nemesis Potential (Darkness Shield), as long as you don't get hit a lot.All weapon ingredients can be brought.Weak if you get hit a lot, at least until you can change to it's Redux potential. | |
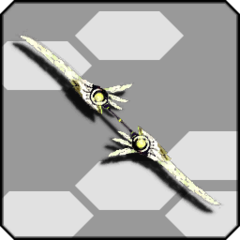 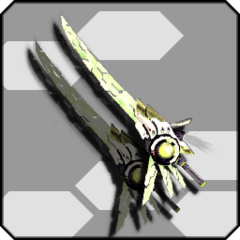 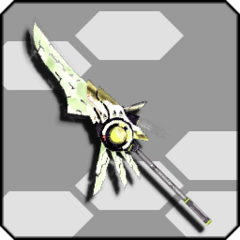 |
Flotea | None.For an Et-exclusive weapon, this is more than underwhelming. |
Special Weapon Ingredients
| Icon | Name | Uses | Location |
|---|---|---|---|
 |
時還石クロノスTime Reversal Stone Chronos | Atlas series | Title: Grind a Val to +35.Title: Get 1100 Titles.Title: Get 5M Points on Divide Quest.Clear Episode 5 Chapter 6 Sub Story 4 (Basically clear all Episode 5).Exchange 600 Sage's Crest on Zieg.Road to Episode 6 Campaign.Summer Vacation Get Kronos Campaign. |
 |
創望石アンフィトリテCircular Amphitrite Stone | Xion series | Title: Defeat Dark Falz Persona 50 times.Title: Get 1200 Titles.Title: Get 7.2M total points on Armada of Demise.Title: Get 50M Points on Divide Quest.Exchange 900 Sage's Crest on Zieg.Road to Etoile CampaignRoad to Luster Campaign |
 |
解鍵リバレイトLiberate Unlocker | Rivalate (Liberate) series | Title: Get 1300 Titles.Title: Get 100M Points on Divide Quest.Exchange 900 Sage's Crest on Zieg.New Year Festival 2020 Limited Exchange8th Anniversary Limited ExchangeRoad to Luster CampaignMission Pass Season 2 |
 |
閃機晶グラーニアLuminmech Grainne Crystal | Stil, Puras, Cras | Title: Divide Quest 3M points per week.Title: Clear Divide Quest Step 35.Divide Medal Shop.Prize Medal Shop.Mission Pass Season 3.ARKS Connect Memories Individual Point RewardMission Pass Season 1Mission Pass Season 2 |
 |
神眼石グライアイDivine Eyestone Graeae | Cras | Title:Defeat Primordial Darkness 50 times50F first clear reward on Ultimate Quest SodamMission Pass Season 4 |
Weapon Affix
I personally go for a 6 to 7 slot easy-to-achieve affix. Adding damage like S1:Augment Intent is a common option, but I prefer increased PP efficiency, especially since Wand requires it.
| Slot | Name / Item | Location | Description |
|---|---|---|---|
| S1:光子縮減2S1:Photon Reduction 2S1追加:光子縮減2S1 Add:Photon Reduction 2 | Endless QuestsUQ Masquerade | Grants -10% PP Cost. | |
| S1:強闘の志S1:Powering Intent | Grants 104% damage to bosses.Considering most raid content is against boss, you can pick this as a cheap alternative to boost your damage. | ||
| S1:花ノ赤閃S1:Red Petal FlashS1追加:花ノ赤閃S1 Add:Red Petal Flash | ★15 Hard Cross Bullet | Increases damage by 3% for 30s after inflictiong 450K damageEffect resets when you swap weapon, even to another Petalgleam weapon. | |
| S2:時流の恵S2:Flowing GraceS2追加:時流の恵S2 Add:Flowing Grace | UH E-Trial RewardUH Mama-DeusPSO2es Quick Search | Grants a persistent 10 PP regeneration every 4s. | |
| S2:強闘の志S2:Powering Intent | ★13 Mars Series | Grants 103% damage to bosses. | |
| S2:六色の志S2:Rainbow's IntentS2追加:六色の志S2 Add:Rainbow's Intent | Divide Quest | Grants 105% damage if Petalgleam (Red Petal Flash) is active.Also works with any other Gleams. | |
| S3:時流の勇S3:Flowing CourageS3追加:時流の勇S3 Add:Flowing Courage | UH Armada | Grants automatic Shifta every 14s. | |
| S3:強闘の志S3:Powering Intent | White Day 2020 | Grants 104% damage to bosses. | |
| S3:活実の志S3:Vital IntentS3追加:活実の志S3 Add:Vital Intent | ★15 Anacates SeriesUH E-Trial RewardUH Mama-Deus | Grants 103% damage if HP is more than 80%. | |
| S3:花海雪の歌2S3:Nature's Melody 2S3追加:花海雪の歌2S3 Add:Nature's Melody 2 | Divide Quest | Grants a maximum of 107% damage over 15s if Petalgleam (Red Petal Flash) is active.Also works with Seagleam (Blue Ocean Flash) and Snowgleam (White Snow Flash).Currently very expensive. | |
| S4:強闘輝与S4:Colossal RadianceS4追加:強闘輝与S4 Add:Colossal Radiance | UH Elder | Grants a persistent 40 PP regeneration every 10s when there's a boss nearby. | |
| S4:輝器応変S4:Radiant Response | ★14 Atlas Spear | Grants increase in natural and active PP regen and reduce PP cost by (PP-120) * 0.1%.A powerful S4 if you chose to have a giant amount of PP. | |
| S4:六色の輝秤S4:Harmonized RainbowS4追加:六色の輝秤S4 Add:Harmonized Rainbow | Grants 30% PP cut, but also reduces natural PP regen by 30% when Petalgleam (Red Petal Flash) is activeAlso works with any other Gleams.This increases your PP efficiency a lot, especially on an Ayer. | ||
| S5:妙の巧志S5:Mysterious Intent | ★15 Liberate Gunslash | Grants 102% critical damage, Increases critical hit rate by +20%, and drains 1% damage dealt as HP (30 max).The HP recovery will not work on Et, but the critical rate boost and damage will still help on Dual Saber. | |
| S5:雷光追撃S5:Thundering Pursuit | ★15 Liberate Dual Blade | Grants additional lightning-like attack when using PA.Only works on Dual Blade. | |
| S5:静心衝杖S5:Calming Shockwave | ★15 Liberate Wand | Grants 102% damage, an additonal attack on Normal Attack 3, and negates hitstop.Only works on Wand.The additional attack is similar to Lavis Cannon and recovers 15PP. | |
| ペルソナ・レヴリーPersona Reverie | Grants 40 ATK. | ||
| パワーⅥPower VI | ★14 Dim Series (Strike) | Grants 45 S-ATK. | |
| シュートⅥShoot VI | ★14 Dim Series (Ranged) | Grants 45 R-ATK. | |
| テクニックⅥTechnique VI | ★14 Dim Series (Tech) | Grants 45 T-ATK. | |
| アストラル・ソールAstral Soul | ★13 Ray series★13 Union series | Grants 35 ATK, 35 HP and 5 PP. | |
| フレイズ・ディケイPhrase Decay | ★13 Basilis series | Grants 105% damage against target with Jellen.More preferable for party-content as there's bound to be a Phantom or Luster in the area. | |
| フレイズ・ウィークPhrase Weak | ★13 Fornis series★13 Homura series | Grants 102% damage against target with matching elemental weakness as the weapon. | |
| グランド・スピリタGrand Spirita特殊能力(グランドPP)Add Ability (Grand PP) | Grants 15 PP | ||
Damage Evaluation
You can evaluate how well you are doing damage by the following:
| Parameter | Okay | Good | Great! |
|---|---|---|---|
| Damage Tally Practice Rockbear20 seconds, Standing StillNo drinks or tree or any boosts. | 3M Damage | 4M Damage | 5M Damage |
| Damage Tally Practice RockbearFree, Standing StillNo drinks or tree or any boosts. | 18M damage in 120s | 24M damage in 120s | 30M damage in 120s |
| Clear XH Solo Trigger Profound Darkness Tree boost and drink only. | Less than 9:30 | Less than 7:00 | Less than 5:30 |
| Clear UQ Masquerade Tree boost and drink only. | Less than 1:00 | Less than 45s | Less than 30s |
FAQ
You seriously use Recommended Setting for Etoile skill tree?
Yes, it turned out to have exact same setup as my Et tree. I discovered it when I wanted to reset one of my alt character's Et tree: out of curiosity I picked Recommended Setting before intending to reset, but it turned out to be the exact same tree I am using for my main character. So hey, same tree! No need for reset pass!
I just got my first Graeae / Amphitrite / Key / Chronos, what weapon type should I make?
Make your favorite type, but do consider the possibility of said weapon being passed on to your alts: DS to Fighters, DB/Soaring Blades to Bouncers, and Wand to Techers.
What attack augment/affix type should I use?
You should go full MEL/S-ATK. Despite having Wand, all Etoile attacks are calculated using MEL/S-ATK. Etoile do have innate skill to use which augment is higher on the Wand (it picks the highest between MEL/S-ATK and TEC/T-ATK), to use for damage calculation but it's only for said Wand; your MEL/S-ATK augments on units will be used for the rest of the calculation.
Demo Videos
Versus Varuna in Story Mode
Versus Varuna and Mitra in 30F Divide Quest
Versus Primoridal Darkness
Ultimate Quest Sodam 40F
Closing
Should you require aid in-game, you can contact Manaka, her player name is VateVierge. If you want to chat on discord, feel free to contact me at Perseonn#7731!
Credits
- PSO2 ファンタシースターオンライン2 攻略 Wiki (PSO2 Capture Wiki)🔗 for the main reference
- Arks-Visiphone🔗 for a lot of PSO2 item and PA icons
- Apprentice(?) Safhier for initial feedback
Changelog
| 2020/12/14 | Added demo videos. |
| 2020/12/09 | Updated item names with NA translation, updated S-Class Ability section, updated Weapon List, minor note update to few PAs. |
| 2020/06/16 | Revised weapon S-Class Ability section. Unit section removed in favor of a separate unit guide. |
| 2020/06/11 | Initial version. |
| 2020/05/25 | Prototype version. |